
Sunday, January 14, 2018
Saturday, January 6, 2018

Monday, January 1, 2018
new

being one of those who marks time
and watches days
while looking for patterns and clues ...
... I will nurture hope
in spite of and because of
what I see around me.
*
hoping for peace
for both you and for me
in this new 2018
Monday, October 23, 2017
desert living rooms
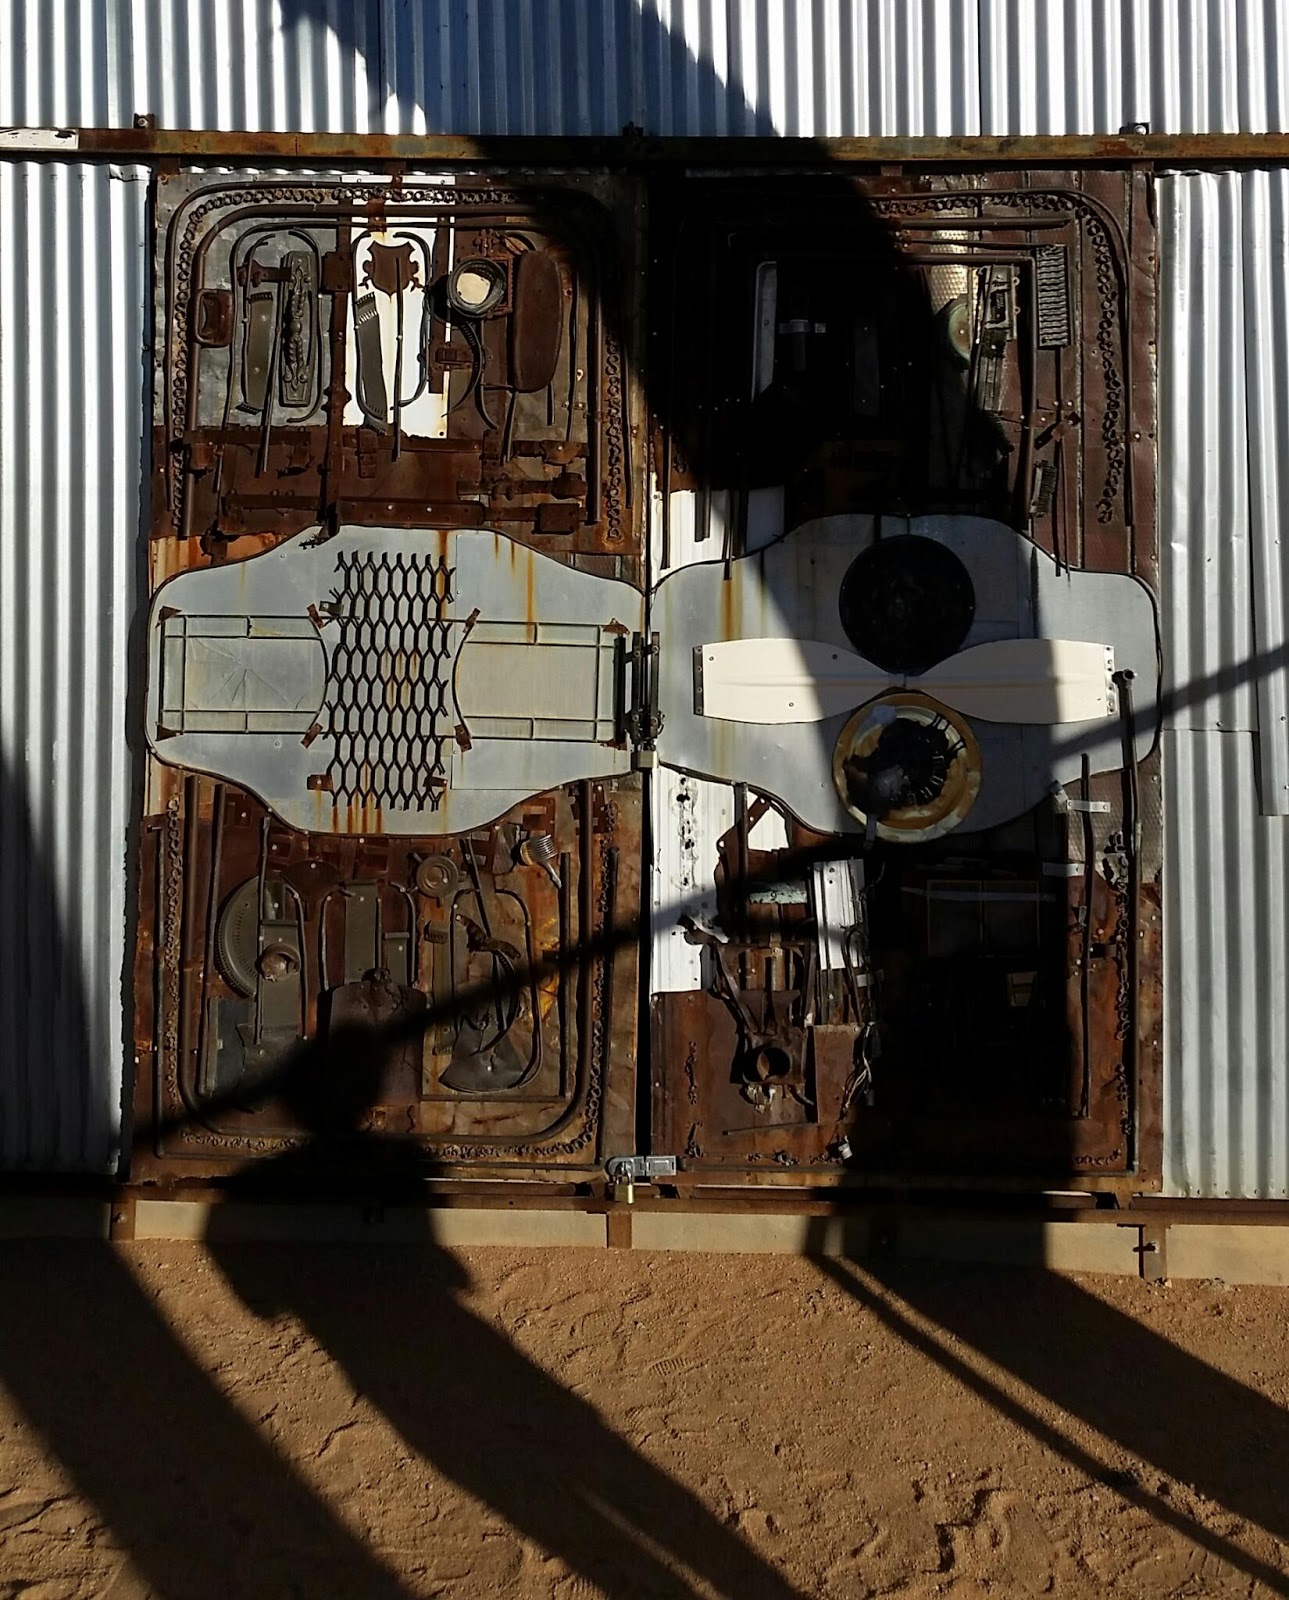
If you walk out in the mornings on the country roads I walked on in Joshua Tree, you might find these life sized cabinets of curiosities.
I have no explanation for these mysterious spaces - although the last photo is a more familiar sight to all of us - but in this context it was oddly surreal.


Sunday, October 22, 2017
Noah Purifoy, Artist and Human
"Born in Snow Hill, Alabama in 1917, assemblage artist Noah Purifoy lived and worked most of his life in Los Angeles and Joshua Tree, California. His earliest body of sculpture was constructed out of charred debris from the 1965 Watts rebellion.
"From 1989 until his death in 2004, Noah filled ten acres of his high desert studio in Joshua Tree with assemblage sculptures and installations that synthesized the concerns of his life."
- www.noahpurifoy.com
I had the unique pleasure of visiting this amazing installation earlier this month. Here are some of the things I saw there ...


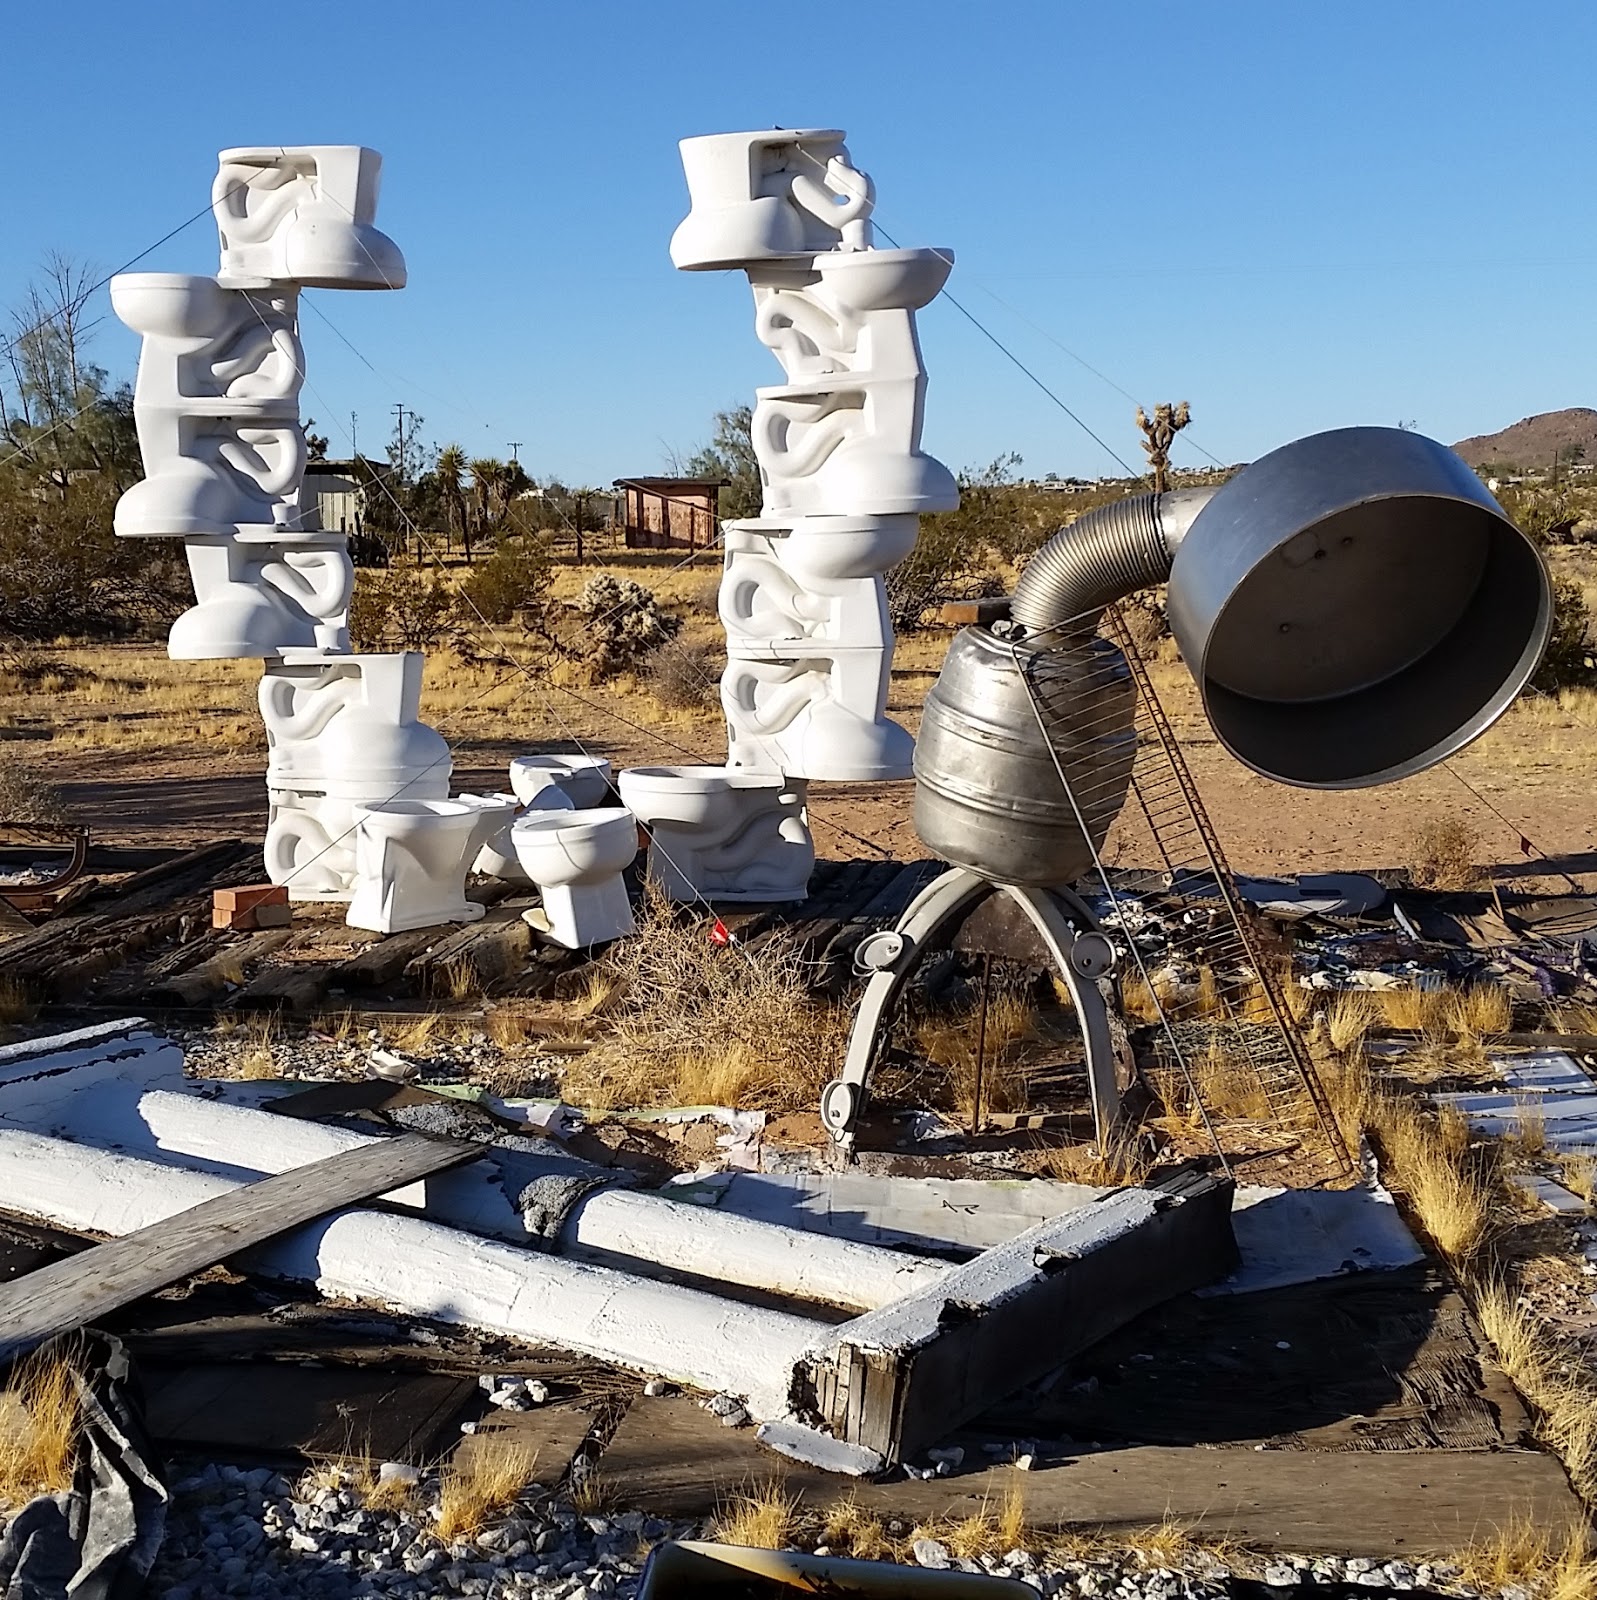


(White: drinking fountain Colored: toilet)

(The White House: this is the oval office)


Tuesday, September 5, 2017
live a still life
flowers on my desk
...i am sitting still ...

flowers on my desk
... i am moving ...

Monday, September 4, 2017
bee labor
happy labor day from my garden
and all of the over worked, underpaid, ever humble
precious bees
 |
| overexposed photo, but still nice, IMO |
 |
| run of the mill exposure, but still nice, IMO |
Subscribe to:
Posts (Atom)